In this guide, we create an iOS Email Profile which will be used to pre-provision the iOS native mail app with our test user account UPN and security type.
Create an iOS Email Profile
From the home dashboard, navigate to Devices > Configuration Profiles.
Select the ‘Create Profile’ button.

Select ‘iOS/iPadOS’ as the platform.
Select ‘Email’ as the Profile Type and then select ‘Create’.

Set a Name and Description.
**Example**
Name: iOS – Email Profile
Description: Email profile for iOS devices.

Select ‘Next’
For the purposes of this training course, the following example email profile settings will be set:
**Example**
Exchange ActiveSync account settings
- Email server: outlook.office365.com
- Account name: Work Email
- Username attribute from AAD: User Principal Name
- Email address attribute from AAD: Primary SMTP Address
- Authentication method: Username and password
- SSL: Enable
Exchange ActiveSync profile configuration
- Exchange data to sync: All data

Select ‘Next’.
Under Assignments, select ‘Add Groups’.

In this example, the ‘Corporate Devices’ group will be selected.

Select ‘Select’ to add your Azure AD Group.
Select ‘Next’ and then ‘Create’.
Once created, you will see the email profile appear in the list ready for use.

See in Action
Once the email profile has been successfully installed, the device will automatically prompt the user to complete Exchange ActiveSync authentication by asking for a password.
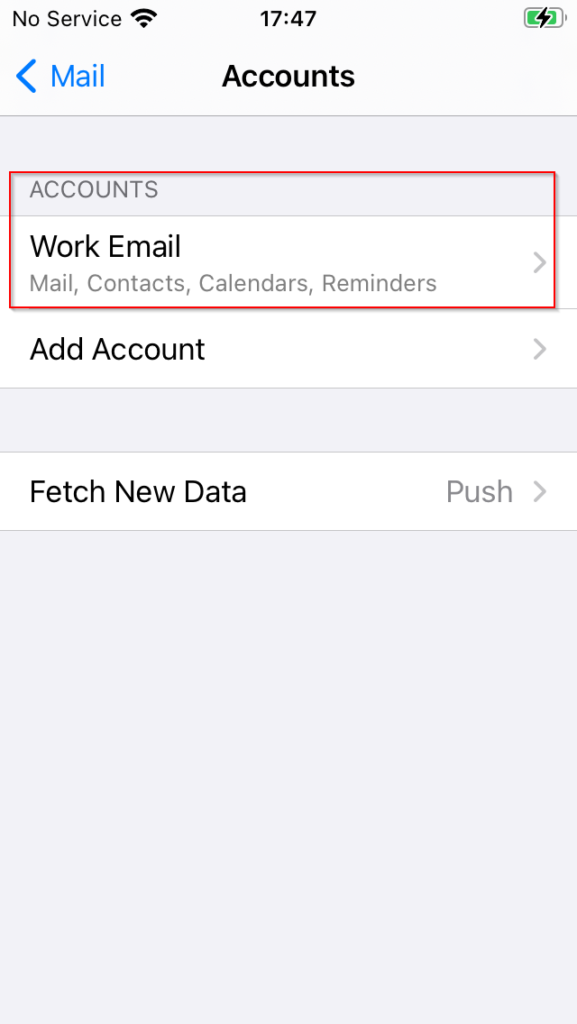
After authentication is complete, within the settings app under Mail > Accounts, we can see our account listed. Drilling down further into detail by selecting the email profile, we can validate the details match the Endpoint Manager deployed email profile.
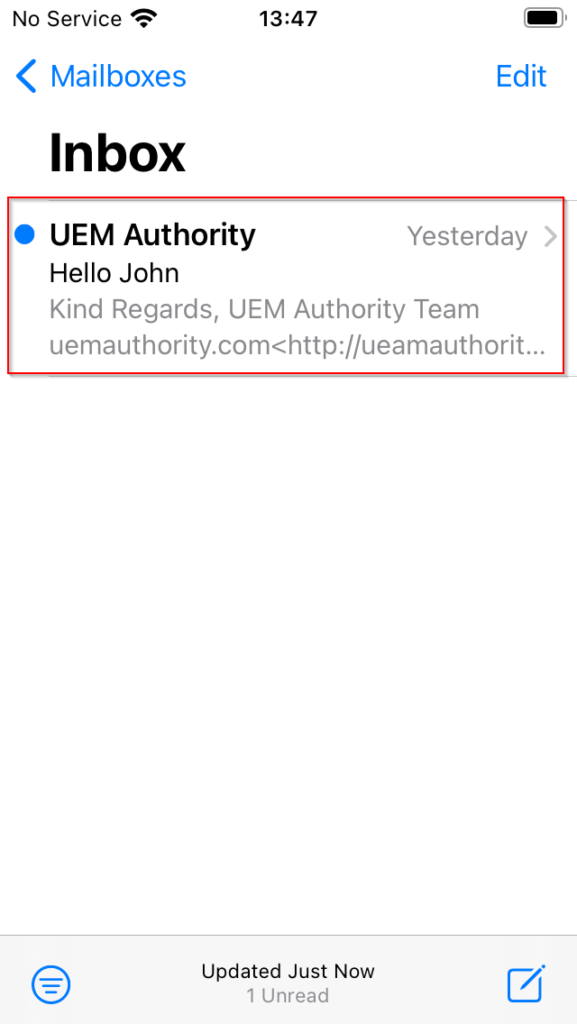
Moving over to the native mail app, a test email has been received successfully.
Within the Endpoint Manager portal, we can validate the email profile has been successfully installed on the device by navigating to Devices > All Devices.
Selecting the device entry, under Device Configuration on the left side menu, we can see the email profile we created successfully installed.


