In this guide, we create an iOS Compliance Policy in order to define a baseline compliance criteria that devices, to be managed by Intune, must meet.
Create an iOS Compliance Policy
Sign in to your Endpoint Manager portal by browsing to https://endpoint.microsoft.com
From the home dashboard, navigate to Devices > Compliance Policies.

Select the ‘Create Policy’ button.

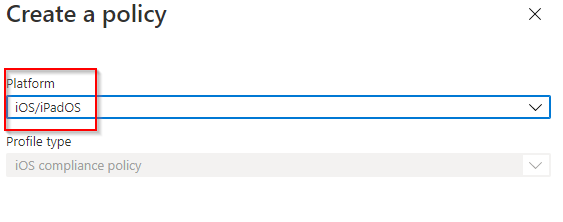
Select ‘iOS/iPadOS’ as the platform and then select ‘Create’.
Set a Name and Description.
**Example**
Name: iOS – Compliance Policy
Description: Compliance policy for iOS devices.

Select ‘Next’
For the purposes of this training course, the following example baseline compliance settings will be set:
**Example**
Email
- Unable to set up email on the device: Require
Device Health
- Jailbroken devices: Block
- Require the device to be at or under the Device Threat Level: Not Configured
Device Properties
- Minimum OS version: 13.0
- Microsoft Defender for Endpoint: Not Configured
System Security
- Require a password to unlock mobile devices: Require
- Simple passwords: Block
Minimum password length: 6
- Required password type: Numeric
- Number of non-alphanumeric characters in password: 1
- Maximum minutes after screen lock before the password is required: Immediately
- Maximum minutes of inactivity until screen locks: 5 minutes


Select ‘Next’.
Actions for non-compliance will remain unchanged.

Select ‘Next’.
Under Assignments, select ‘Add Groups’.

In this example, the ‘Corporate Devices’ group will be selected.
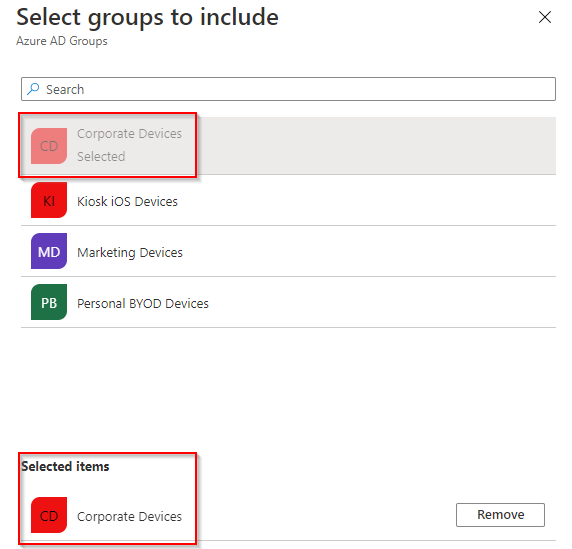
Select ‘Select’ to add your Azure AD Group.
Select ‘Next’ and then ‘Create’.
Once created, you will see the compliance policy appear in the list ready for use.
 See in Action
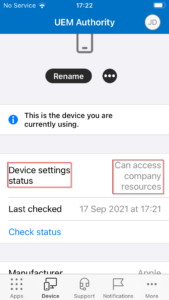
Device compliance status can be validated on the device by the user. Observing our enrolled device within the Company Portal app, we can see the status says “Can access company resources”.
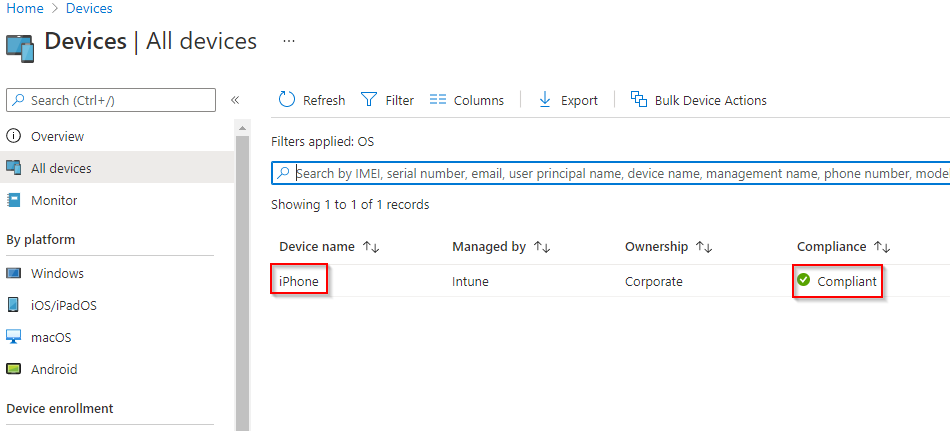
Within the Endpoint Manager portal, we can validate the compliance status of a device by navigating to Devices > All Devices.
Observing the device in question, we can see the compliance column indicates the device is compliant.
Selecting the device entry, under Device Compliance on the left side menu, we can see the compliance policy we created successfully assessed the device.
